Introduction
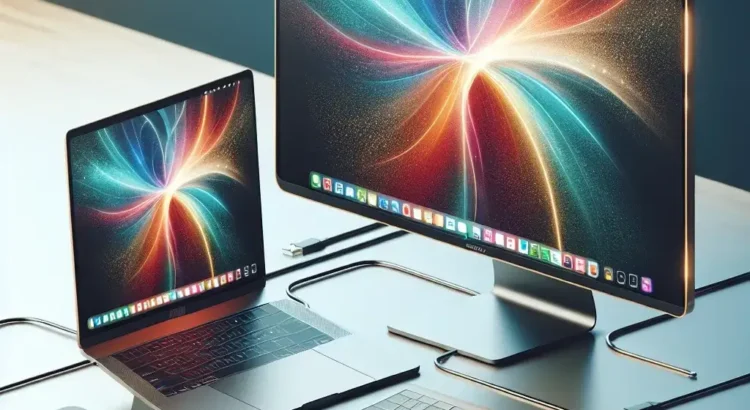
Connecting a MacBook to an iMac can be beneficial for various reasons, including utilizing the iMac’s larger screen, extending your desktop for increased productivity, or simply transferring data between devices. Whether you’re a developer needing more screen space, a designer wanting a larger canvas, or just someone who loves multitasking, this article will guide you through the process step-by-step.
Methods for Connecting a MacBook to an iMac
There are several ways you can connect your MacBook to an iMac:
- Using Target Display Mode (TDM)
- Through Sidecar
- Using Screen Sharing
- Via Thunderbolt or USB-C Cable
Comparison Table
The following table outlines the different methods to help you determine which might be best for your needs:
| Method | Requirements | Features |
|---|---|---|
| Target Display Mode | iMac (2011-2014), Thunderbolt or Mini DisplayPort cable | Mirror MacBook’s screen on an iMac |
| Sidecar | macOS Catalina or later, iPad, iPadOS 13 or later | Extend MacBook’s screen using iPad |
| Screen Sharing | Both devices on same network | Remote control and access |
| Thunderbolt/USB-C | Compatible cables and ports on both devices | High-speed data transfer |
Using Target Display Mode
Target Display Mode (TDM) allows certain iMac models to be used as external displays for MacBooks. This feature is compatible with iMacs from 2011 to 2014.
Requirements
- iMac (2011-2014)
- MacBook with compatible Thunderbolt or Mini DisplayPort
- Thunderbolt or Mini DisplayPort cable
Steps
- Connect the iMac and MacBook using the Thunderbolt or Mini DisplayPort cable.
- Ensure both devices are powered on.
- Press Command + F2 on the iMac’s keyboard to enter TDM.
- Your iMac should now display the MacBook’s screen.
Using Sidecar
Sidecar is a feature that allows you to use an iPad as a second screen for your MacBook. It’s available in macOS Catalina or later and requires an iPad running iPadOS 13 or later.
Requirements
- MacBook with macOS Catalina or later
- iPad with iPadOS 13 or later
- Wi-Fi or USB connection
Steps
- Ensure both the MacBook and iPad are signed in to the same Apple ID.
- Connect the iPad to the MacBook via Wi-Fi or USB.
- Open System Preferences on the MacBook and select ‘Sidecar’.
- Select your iPad from the dropdown menu.
- The iPad should now serve as an extended display for your MacBook.
Screen Sharing
Screen sharing allows you to view and control one Mac from another Mac. This can be handy for accessing files, running applications, or providing remote assistance.
Requirements
- Both devices on the same network
- macOS installed on both devices
Steps
- On the MacBook, go to System Preferences and click on Sharing.
- Check the box next to Screen Sharing.
- On the iMac, open Finder and select Network from the sidebar.
- Select the MacBook you want to share the screen with and click Connect.
- Enter the necessary credentials and click Share Screen.
Using Thunderbolt or USB-C Cable
If both your MacBook and iMac support Thunderbolt or USB-C, you can connect them directly for high-speed data transfer. This can be particularly useful for transferring large files quickly.
Requirements
- MacBook with Thunderbolt or USB-C port
- iMac with Thunderbolt or USB-C port
- Compatible cable
Steps
- Connect the MacBook and iMac using the Thunderbolt or USB-C cable.
- Open Finder on your MacBook.
- Navigate to the location of the files you wish to transfer.
- Drag and drop the files to the connected iMac’s icon in Finder.
Troubleshooting Tips
If you encounter issues while trying to connect your MacBook to an iMac:
- Check Compatibility: Ensure your devices and cables are compatible.
- Update Software: Make sure your macOS and iPadOS are up to date.
- Restart Devices: Restart both the MacBook and iMac.
- Reconnect Cables: Disconnect and then reconnect the cables.
Conclusion
Connecting a MacBook to an iMac opens up a multitude of possibilities for increased productivity and convenience. Whether you choose Target Display Mode for a mirrored display, Sidecar for extended use, screen sharing for remote access, or a direct cable connection for fast data transfer, each method has unique benefits. By following the steps outlined in this guide, you can easily set up your devices to work in harmony and enhance your workflow significantly.
